OK, so that was the location. Now for the spinning.
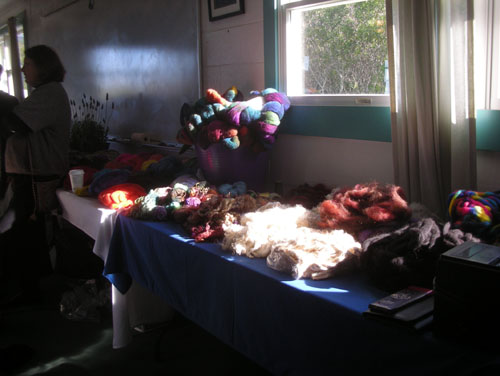
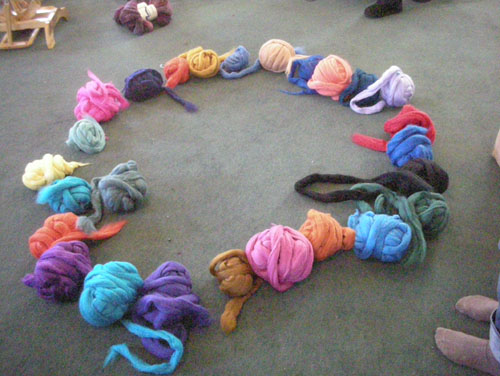
The theme for this class was colour, and boy was it. I'd already decided I prefer spinning undyed fiber and dyeing it as yarn (and Judith agreed with me!), but it's always good to challenge yourself. It was clear there was going to be some good fun on the very first night, when we found this table stacked with goodies:
Technorati Tags: colour, crafts, dyeing, fiber, judith mackenzie mccuin, knitting, point bonita, spinning
OK, so let's start on day one (Saturday). We got up bright and early, had breakfast (they had pancakes, but I don't eat pancakes when the only syrup option is not actually maple syrup, because I am a SNOB, so I had eggs and pineapple chunks), and made our way to the classroom. We were all bright-eyed and bushy-tailed.
Judith started us out by laying out several large dyed tops.
We divided them in half, so everybody had a spinning twin who did the other half of the same top.

Then we stripped off some equal-width strips lengthwise, putting a knot at the same end on each one so we could align them.
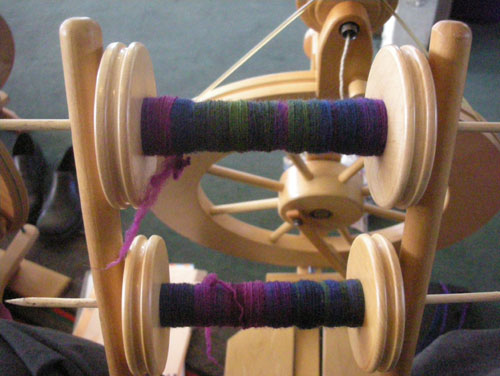
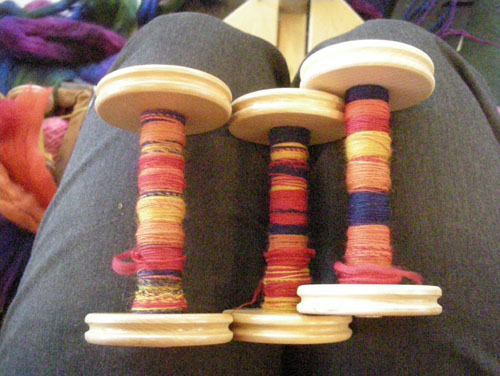
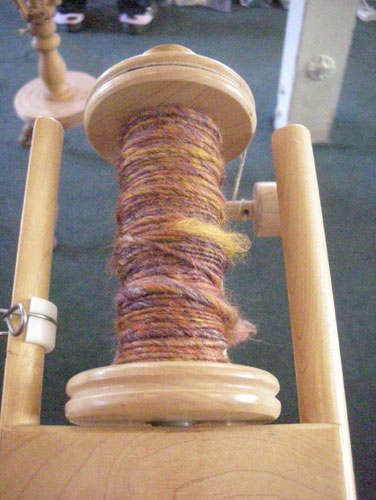
Then singles, taking care to try to be consistent. These are two bobbins spun starting from the same end of the top, ready to be plied.
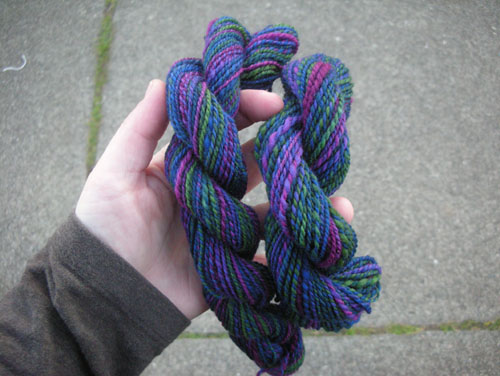
We made two skeins from those tops: one with the two singles plied starting at the same end, so the colour changes should match up (left), and one with the singles plied starting at opposite ends, so the colour changes were not deliberately matched (right).
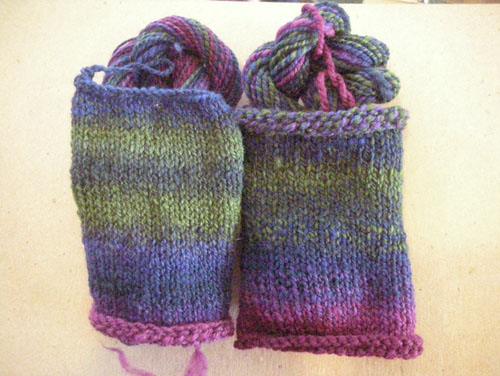
From that I knitted up two quick swatches to see how the different methods of blending colour gave different results in the fabric. My top had very regular colour changes, so it wasn't too dramatic, but there is a definite difference.
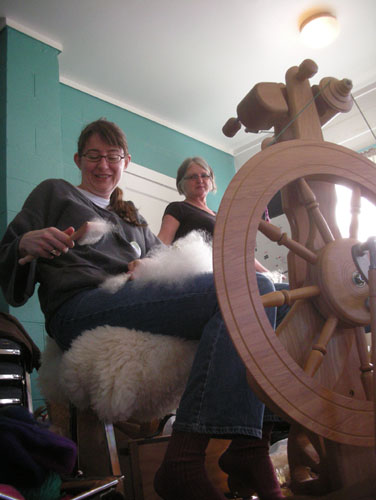
At the same time, Judith would pause and show us techniques, like when she showed us how to hold the singles for making a 3-ply.
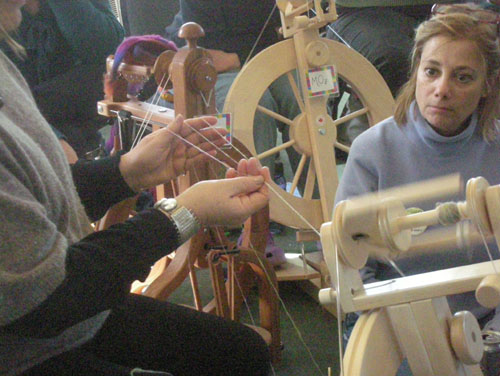
I admit, I tried her way and my way, and my way still feels more natural to me. And gives me better results.
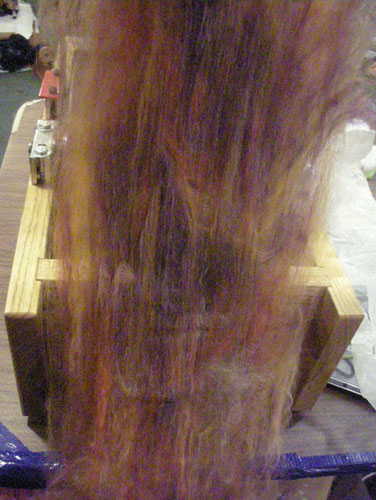
The other interesting work we did involved blending dyed tops.
We chose a few colours of dyed top and tore off forearm-lenths to use. Then we arranged them in our hands and spun across the fiber back and forth, arranging the colours as we wished, to make a variegated single.
I used orange/yellow/red with a dark blue accent colour. Then I spun the singles into a marled 3-ply (I guess I didn't take a picture of the skein).
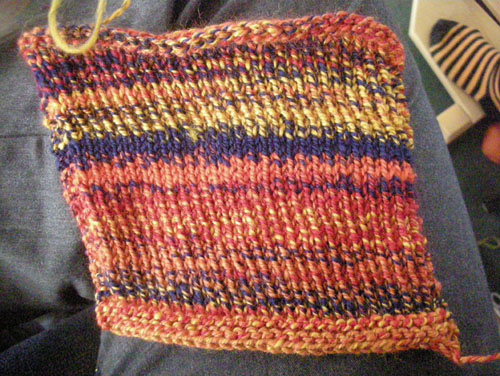
And swatched it up. Apart from the awkward place where the colours aligned perfectly and I got those two solid stripes, I like how the blending worked on this.
(It's biasing pretty heavily because it's knitted at a tight gauge and because the yarn was not finished before I knitted it up.)
By this time the class was all insane, and we were working like mad. But it was all fun.
Then Judith showed us how to use various tools to blend the fibers.
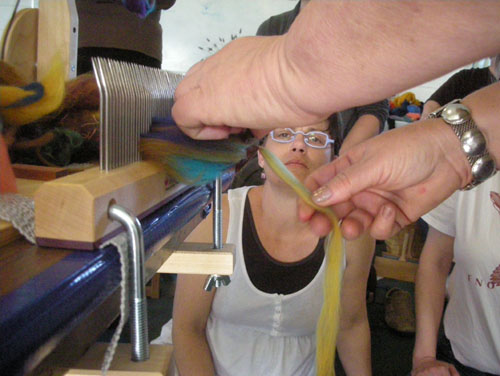
She showed us how to pull a sliver off hackles to make one kind of blend.
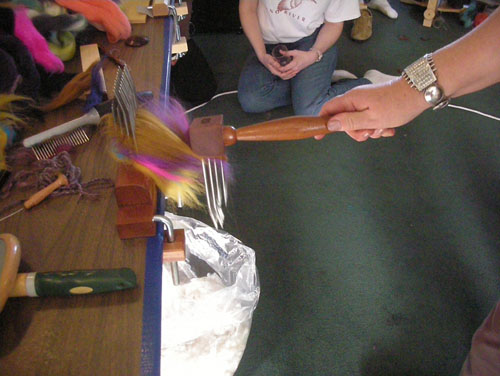
And how to comb different colours together to make another kind of blend.

The sliver of colour that she pulled off the combs was outstandingly different from what she pulled off the hackle. A really interesting effect.
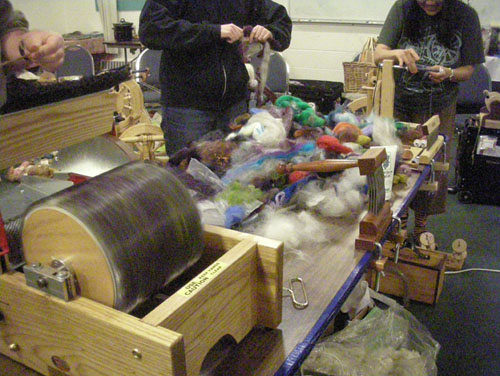
We also got to use the drum carder, which was loads and loads of fun.
A few of us stayed up very very very late on Sunday, making art batts.
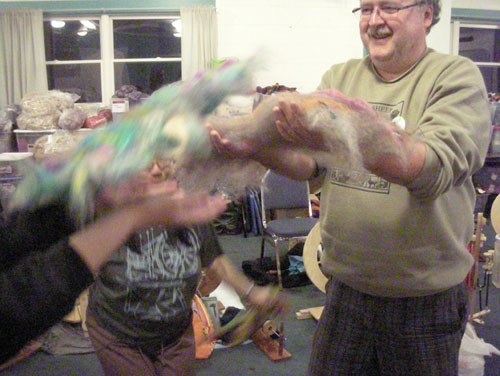
At one point, I'm not sure why, we spent a few minutes tossing the batts in the air and chanting at them.
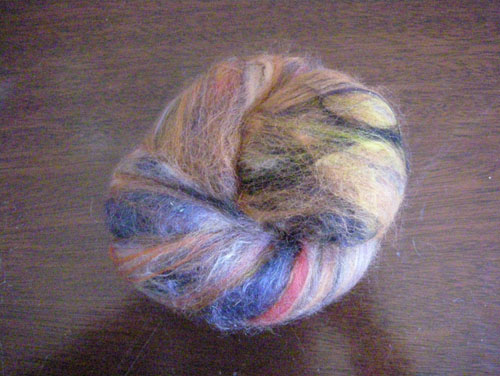
This is my late-night batt. Not very arty, but I don't have anything to prove.
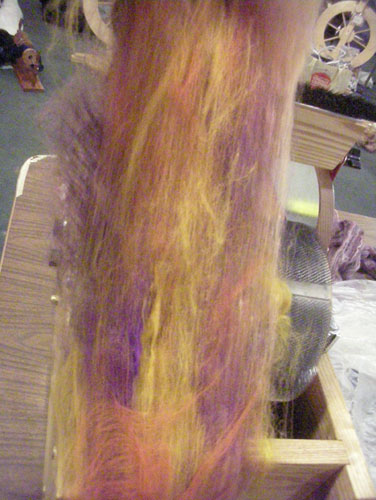
The first time through the carder, the colours aren't very well blended, but you start to see how it will come together.
The second time is when the final colour emerges. I put this batt through four times.

This is what it looked like the next morning, when I dragged myself out of bed against all physical need.
I spun it up as a heavy single, practising the methods Judith showed us for spinning a thicker single.
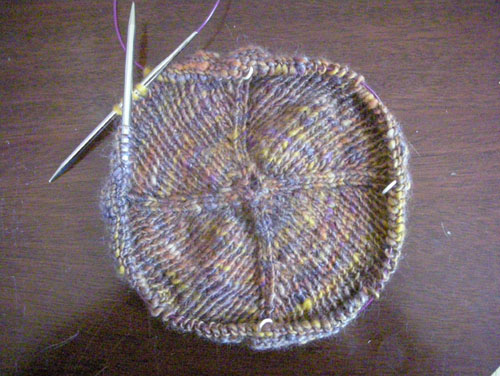
And knitted it up into the crown of a hat.
Then, at the last minute, I made another batt really quick, so I could make some more yarn and finish the hat. It won't quite match (we'd run out of some of the fiber I used on the first batt), but good enough.
By midmorning on Monday, I was, well, pretty tired.
I'm usually pretty good at pacing myself, and by this point I had exactly enough energy left to finish the weekend and nothing else.
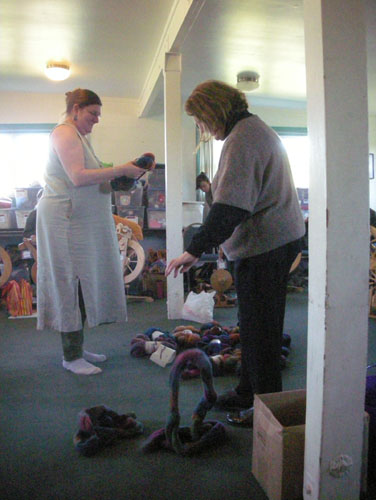
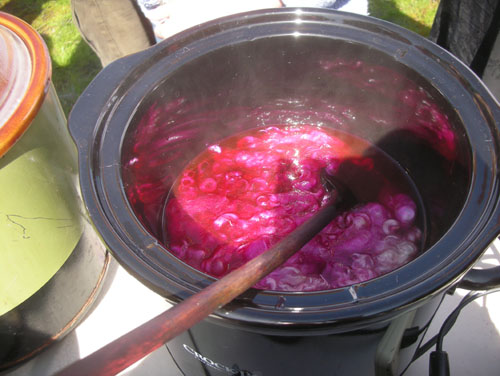
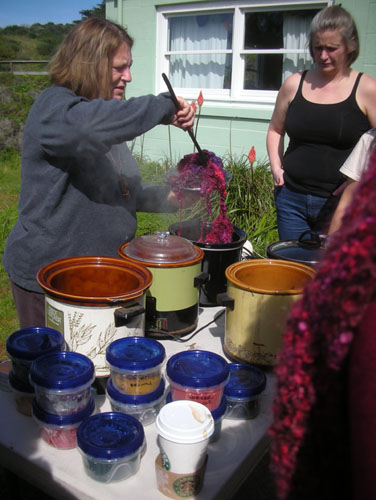
On Sunday afternoon I started work on the dyeing. There wasn't enough room in the dyeing setup for the entire class to do it, so we dyed in batches of five people.
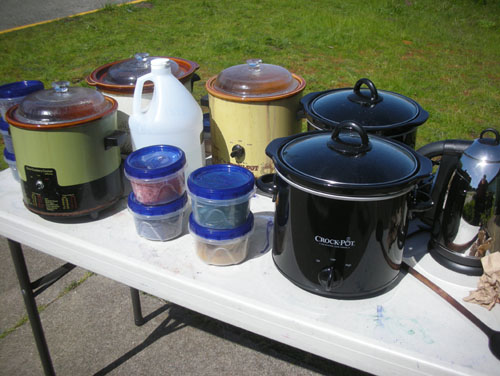
We used crock pots and vinegar, a very low-tech low-stress way of dyeing.
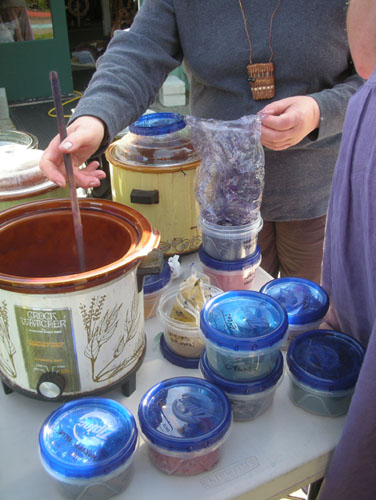
Judith had a very scientific method for applying dye: wet the end of a wooden spoon, dip it in the dye powder, and then dunk it in the pot. Not something you can do with just any dye powder (many are reactive with water), but it works with the dyes we were using.

I wanted fiber dyed to match a copper penny.
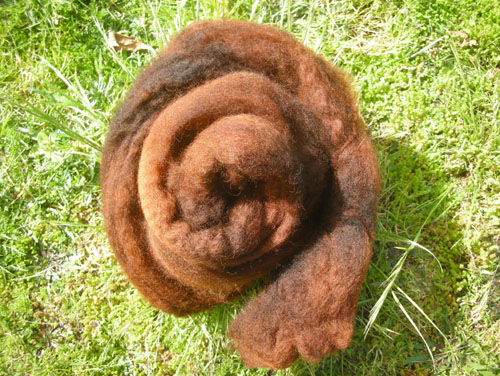
I think it came out pretty nicely. I didn't have time to spin it up, but it's in the box of stuff to work on.
On Monday, Judith showed us how to use very very bright colours to make a boucle yarn that knitted up into a nice fabric.
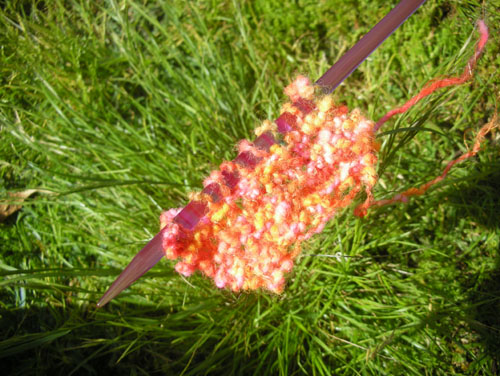
At one point we overdyed that little swatch, but I didn't photograph it. The colours muted down into something really beautiful.
Another thing Judith showed us was how to spin yarn for velvet (or other knotted pile).
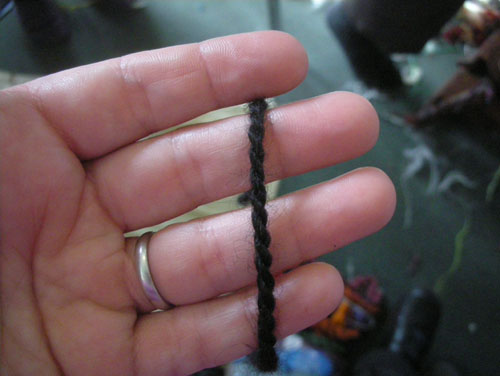
Basically: a worsted yarn, 2-ply. You see that shine there? That is because all the fibers are aligned in the same direction, which makes sense as what you would want for pile.
Oh, right, more dyeing.
We also dyed mohair locks, which was really easy.
In the crock pot, with dabs of dye powder.
Lifted out some time later when the dye had exhausted.

Laid to dry on the metal rack.
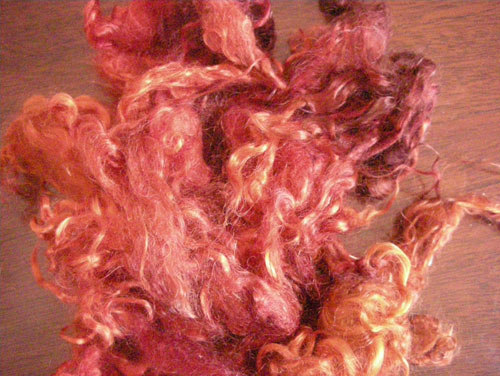
And my little handful of them, ready to be used in a project.
And we dyed yarn in balls, which was interesting.
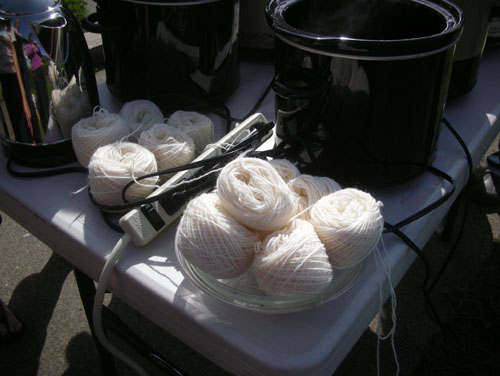
You start with a bunch of small balls of yarn.
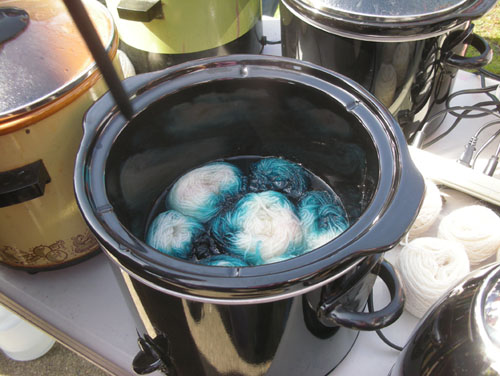
They get stuffed in the pot, with dye added on the outside and into the center of each ball so there are no white bits.
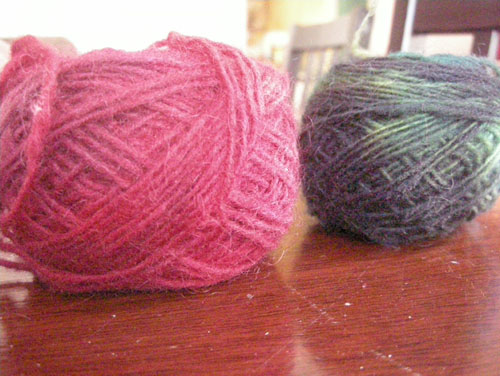
Which ends up looking pretty interesting. I still need to swatch these to see what it looks like in the end.
At the end of Monday, we were exhausted (and some of the class stayed on for the weaving retreat that is still in progress!), we had piles of samples and bits of fiber to spin that we may or may not have gotten to, we had swatches coming out our ears.
When I got home, I was done. It was a great weekend, I learned a lot, and there's a lot to practise and try out. But what I really needed was to sleep for a few days. Which I have not been doing (more on that later).
