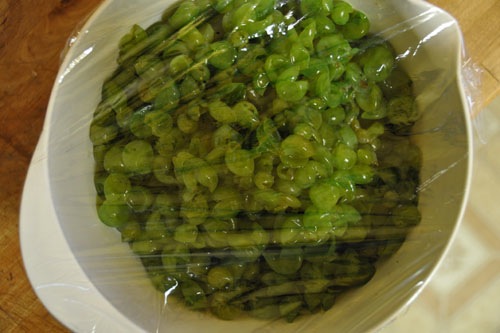
My friend Gwen brought me a box of grapes from her back yard.
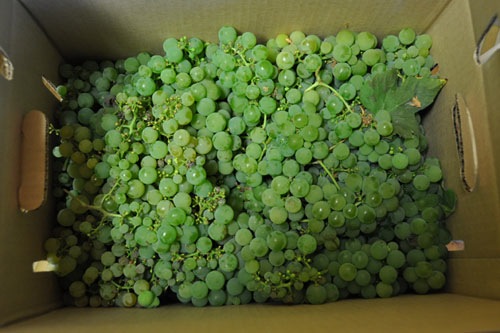
They smelled like summer and grapes and wonderfulness. The sweet, aromatic smell like a Concord grape, only green.
I tried two different methods for making jam, since I had so many grapes.
First, I separated and washed the grapes and slipped the pulp out of the skins. This released a lot of the juice, as well. The process was incredibly time-consuming and tedious.

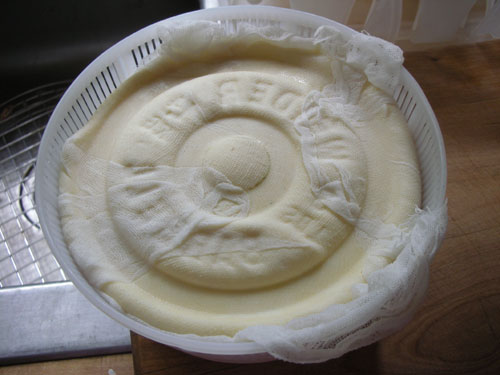
I set the skins aside to use later:
I cooked the pulp until the seeds fell out to the bottom of the pan, then put it through a sieve to get them out.
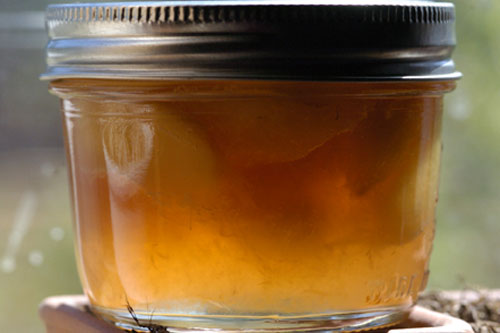
Then I added sugar to half the volume of the pulp, cooked to almost the jelly point, and added in the skins, then had to cook it again. I ended up having to add more sugar and I threw in some lemon to help the pectin set, as well. This ended up with a nice light, bright, very sweet jam.
Green grapes make a light red jam, which seems counter-intuitive but the color comes from the tannins in the skins, which turn red (like in a quince) when they are cooked.
After making the first batch, I still had a ton of grapes. I chose a less work-intensive method.

This time I separated and washed the grapes, then put them, skins and all, in a large pot with an appropriate amount of sugar (about 1/3 by volume) and the juice to two lemons. I let that macerate overnight.
Then I cooked it. When the grapes had pretty much fallen apart, I put the mash through the food mill to remove the seeds. This worked imperfectly, because some seeds were crushed and chunks sent through the mill, but better and faster than hand-skinning each seed by far.
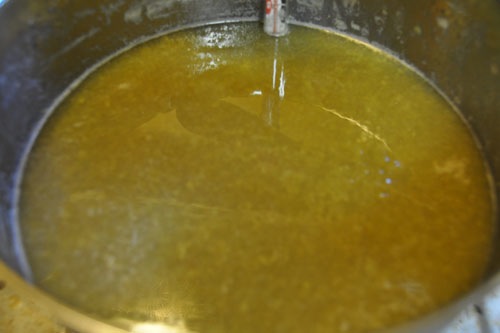
Then I cooked the juice to the jelly point (105C, which is actually 107C on my candy thermometer because of bad calibration).
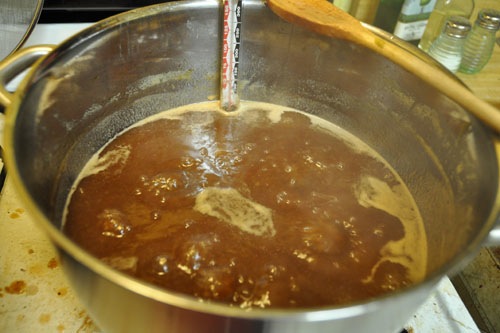
This cooked the jam down by quite a bit; I started out with 7 quarts of grapes, then after milling I had just over 5 quarts of juice. In the end I got seven pints of jam.
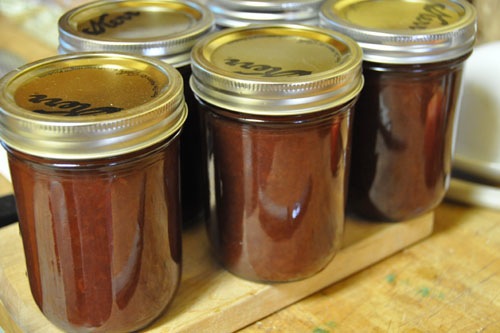
I ran out of one-cup jars and decided against buying even more of them. I had plenty of pint jars, which is a large jar than I usually use for jam, but with grape jam you almost expect abundance and a bigger container, anyway.
I would definitely do the second method again; it worked out very nicely with the combination of work and result. The first method produced a very nice jam, but was not incrementally better than the second.