Making Tissue Packets
So here's the deal: my wedding location, ceremony and reception, is in the middle of a gorgeous grove of Eucalyptus trees. And everybody in my immediate family is allergic to Eucalyptus. So I knew I was going to have to provide tissues. I saw those Martha Stewart packets and didn't like them for two reasons: 1) they have a somewhat inelegant back view, and I'm a very picky person, and 2) they leave the tissues exposed to the air, which means that they get all covered in Eucalyptus pollen, which kind of ruins the helpfulness.
I'd like to add that yes, I have read the threads on various bridal communities linking here and saying I'm a bridezilla for holding my wedding in a place with allergens. As much as the idea that I was anything approaching a bridezilla amuses me, I'd like to note that my family is also allergic to dust, incense, flowers, and probably life on Earth. We have boxes of tissues in every room of our houses, in our cars, at our desks. There is nowhere on earth that is allergen-free for us, but there are lots of places that are tissueless. Also, "allergies" is the typical excuse in my family for getting a bit teary at weddings. Because we're not emotional, no way. AND IT WAS MY SPECIAL DAY!!! GRRRR!!! (hee hee hee)
I designed my own little packets which would be like small envelopes. You can read through the whole process, or just see the finished product. For those of you who wonder at the usefulness, I made about 30 packets for 40 guests, and we had ten left over that we used ourselves for what people use tissues for. Because no tissue will ever be idle in my household.
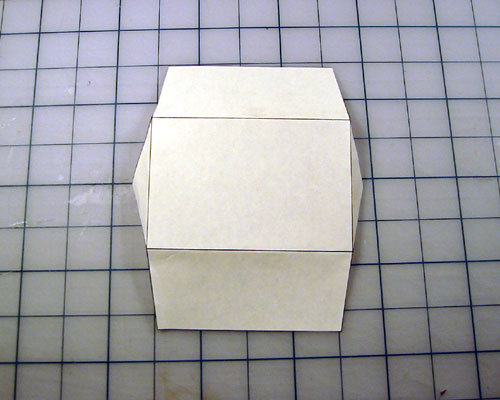
Here's where I started: with a plain white template designed to fit a little folded tissue.
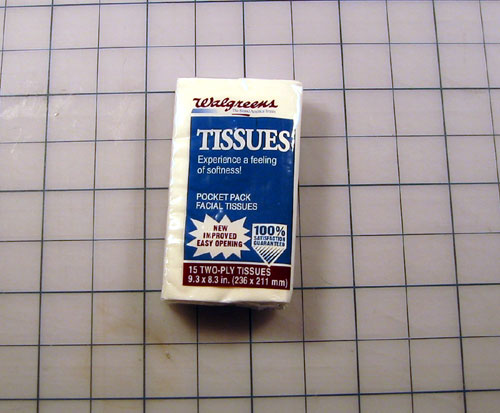
I bought these packs of folded tissues from Walgreens. They were $1.99 for a package of eight of these packs, and there are 15 tissues in a pack, which gave me, at three tissues in a packet, a total of 40 packets. Except that I used a couple of the packs for other purposes.
At great pain and suffering, I cut my template out of my rice paper and scored it so it would fold up nicely.
I glued the sides up as neatly as possible. While doing this I realized that I had underestimated how fussy it is to make this small an envelope.
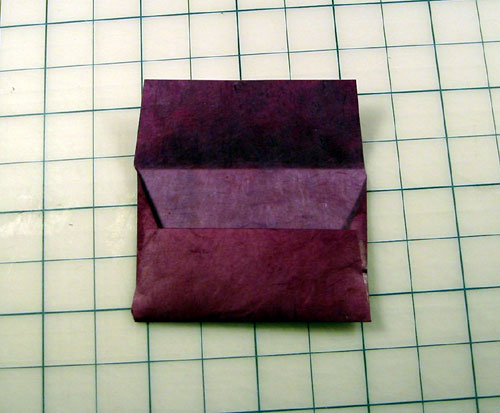
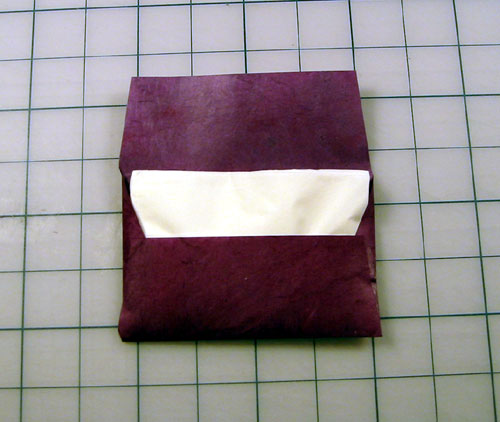
Here I skip a series of goofups that I did not photograph. The first envelope I glued shut by accident. The second one came out too small to fit the tissues into. And this one? You can't tell, but in this one the tissues are actually glued to the envelope and cannot come out. Very classy. Clearly, some rethinking was in order.
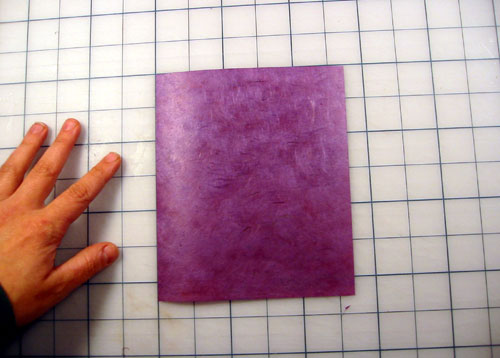
I decided to go simple. No elaborate cutting, no complicated gluing. Just me, some paper, and some tissues. Here we go. Step one was to take a piece of paper large enough to fit the tissues folded inside. This one is 5 1/2" x 6 1/2", as you can see from the cutting mat.
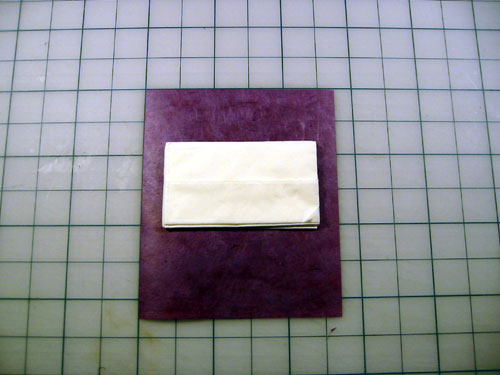
I set my three neatly folded tissues on the paper, just above the centerline.
I folded in the sides and gave them a good crease so they'e be easy to hold in place.
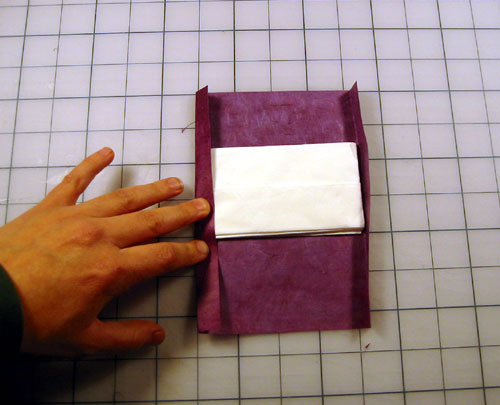
I folded up the bottom and gave it a bit of a crease.
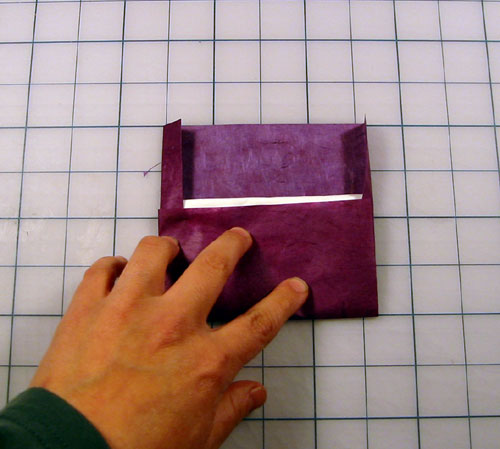
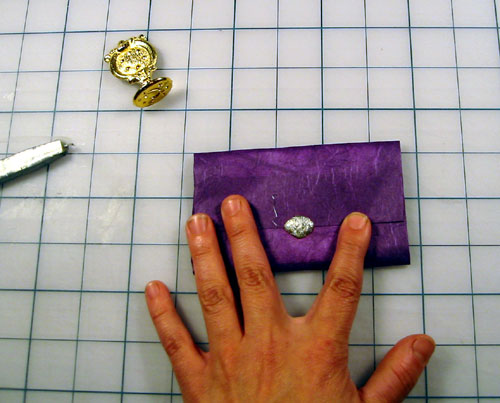
Because the tissues were a bit above the centerline, when I folded down the top it came just a little more than halfway down.
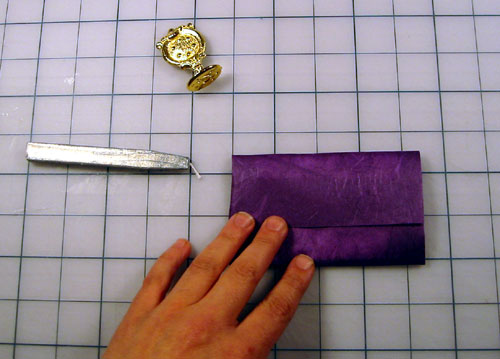
Because of what can only be a massive brain infection, I decided I would use a wax seal to close the packets. It would have been considerably easier and faster and less dangerous to have just used stickers, but there's no reasoning with somebody in my condition. I chose a silver wax and a seal that has a little planet on it. No particular reason, I just thought they looked pretty.
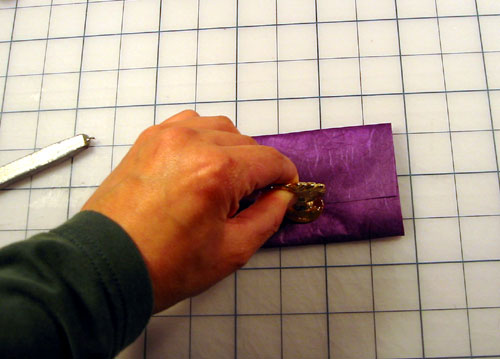
I nearly set myself on fire with the wax stick, but managed to get a good blob of wax on there.
The seal....
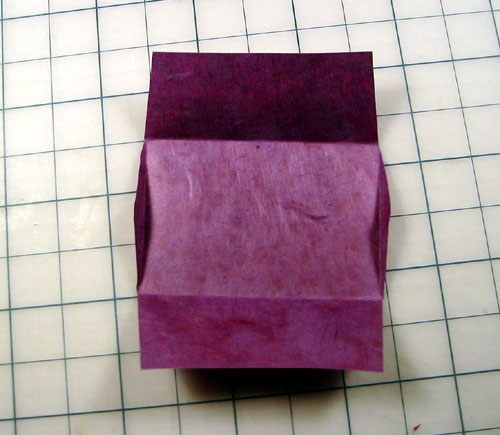
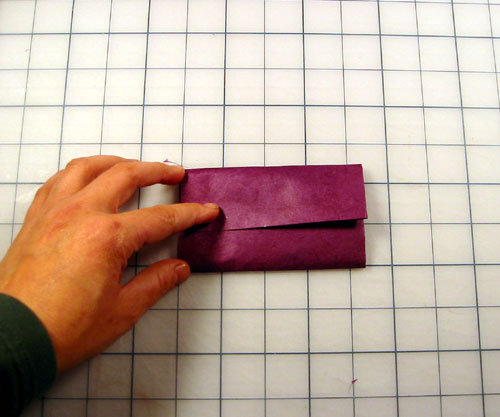
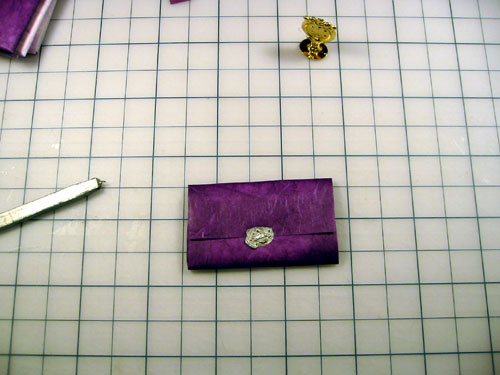
Ta-da! A tissue packet. But it just took too long, and required me to light and extinguish the wax stick each time. There has to be a better way.
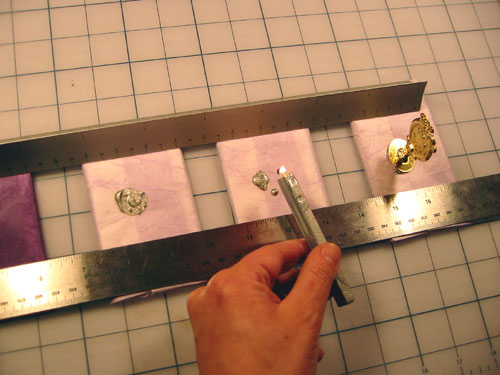
This picture didn't come out very well because of the shiny surfaces. I used two rulers (the part of the upper ruler is played by my architect's scale) to hold a row of the packets down.
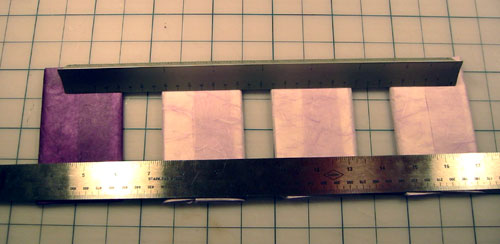
With both hands free to work, I used one hand to guide the wax stick, and the other to do the stamping. This was a lot trickier than it looks, and I have a couple of hints:
- It's OK to let the wax cool down for a few seconds before stamping it, and that will make it a lot easier to remove the seal afterwards with only one hand.
- Smoosh the seal in, and then let it sit there for a while before you try to pull it off.
- Have a bowl of cold water nearby and dunk the seal in it between smooshes. Save some tissues, because you will spill this water.
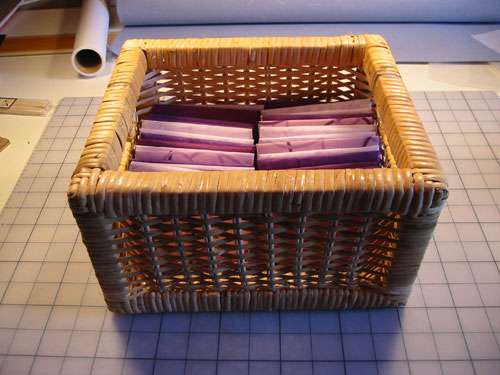
When the wax cooled down, I mixed the packets up and arranged them in a basket from IKEA. Total cost: $10 plus two burnt fingers.